Background
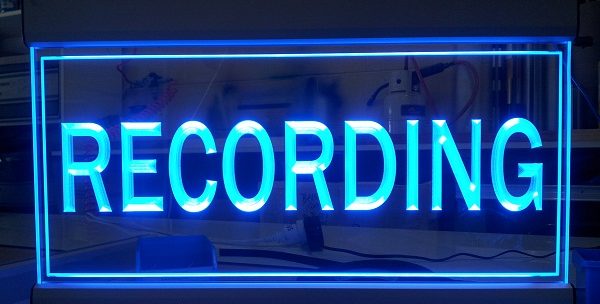
Sign Lighting Australia was the first business to focus solely on Edge-lit signage. We introduced it in 1992. The ‘Standard’ Extrusion was second to none, combining a slide-out lighting unit, with a sleek Aluminum casing to hold and secure the acrylic artwork.
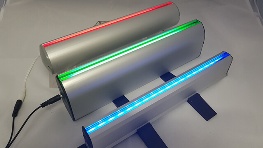
As technology has changed, we have been at the forefront with new extrusions and lighting components along the journey. Cold Cathode technology allowed us to reduce the size of the Lighting unit. These were quickly replaced by LED strip lighting and we now stock 11 colors of LED Rigid strip lighting.

LEDs have forged new frontiers for acrylic Edge-lit signage as they provide brighter signs and allow effects that were not imaginable before. More colors, More reliability, cheaper to run, and all for less money. Just as importantly, our lighting units are all 12VDC. So they are safe and can be installed without an electrician.
Making the sign- TIPs
So let’s focus on some the rules that have helped us make better signs: The First rule is…… ‘There are no rules” in acrylic Edge-lit signage
We recommend 10mm cast acrylic for most signs. This is because cast acrylic has better tolerances, and machines better, – therefore any machining will be more accurate. At 10mm thickness, it allows for deep V cutting, which is how to achieve a ‘3D’ effect. Acrylic has extremely high transparency. Acrylic admits up to 92% of light, making it optically clearer than standard plate glass. In fact, clear acrylic can be made up to 33cm thick and still remain completely clear.
Machining Acrylic
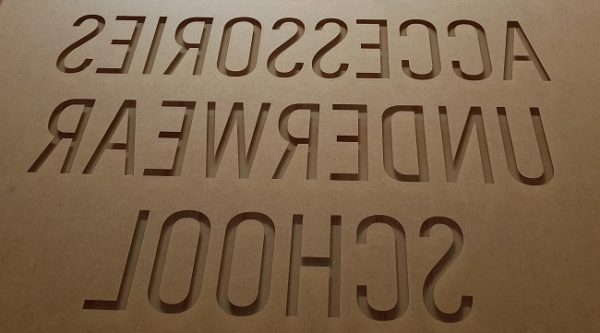
CNC machining. We always do the artwork on the back of the acrylic in reverse. Not the front. As the light is transmitted inside the acrylic you are lighting the inside of the artwork and the light BOUNCES off the artwork. If you do the artwork on the front, you are going to transmit THROUGH the artwork. It simply does not illuminate as well.
If using a CNC router to do the artwork, a V cut, will give you a 3D sign. This is very effective, and this is where the accuracy of the thickness comes into play.
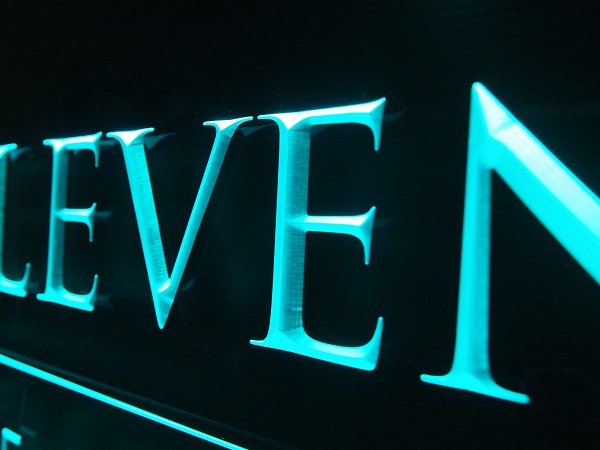
We use a variety of tools from 60 degrees to 120 degrees, although 90 degrees is the recognized standard. using a 90-degree cutting tool, the width of the cut will be 1.5 X the depth of the cut, so at 7mm deep, the cut will be 10.5mm wide. This is important, especially if the acrylic is not a consistent thickness as it will make the letters all different widths. It is also very important because the deeper you cut, the more you are preventing light passing that cut. The letters can be spaced further apart to assist in light transmission, but this doesnt always work. This is why we sometimes profile cut at a set depth (say 2mm depth) around the edge of letters instead but will vary depending on the size of the letters Sometimes less is more- especially with edge-lit signs

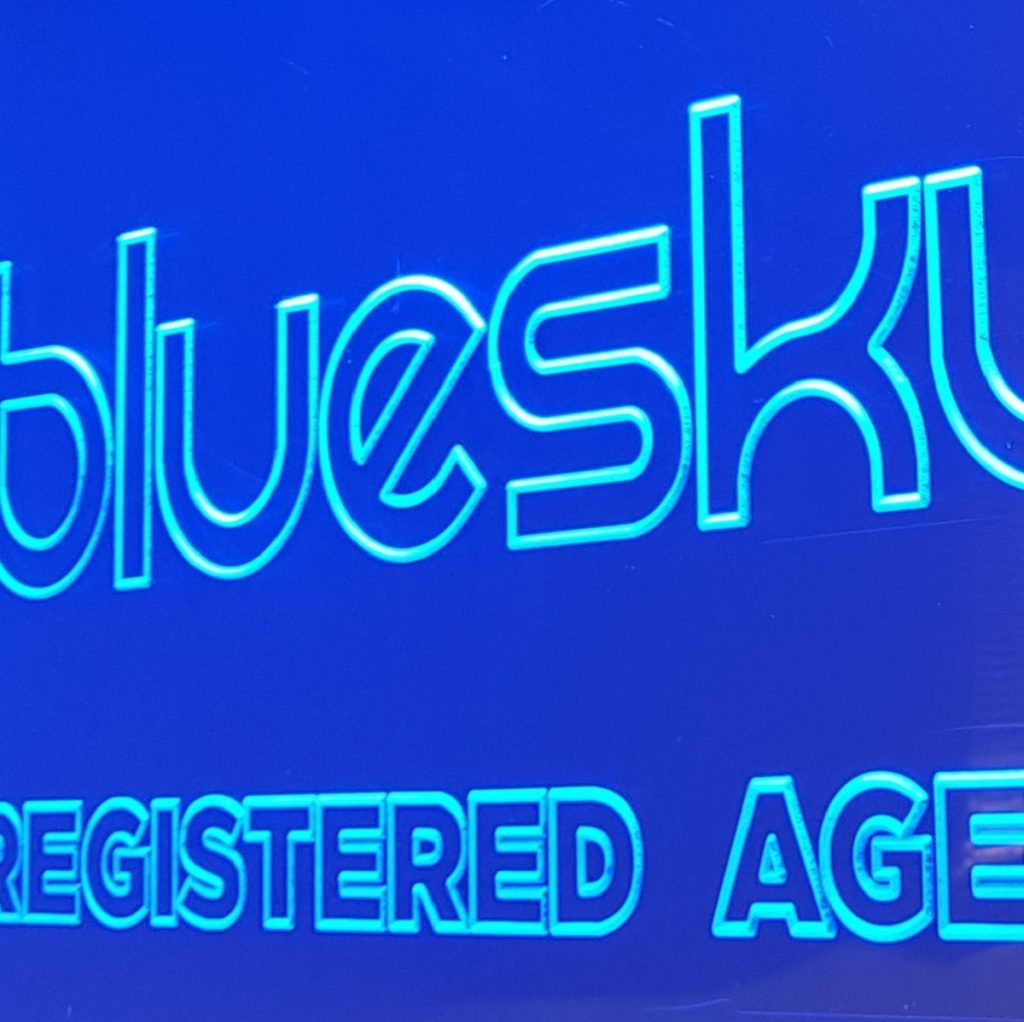
A CNC laser machine is used to either etch or line cut. Etching a double-sided sign has one unique benefit – Etching is really the only way we know of that the brightness is close, on BOTH sides of the sign when lit. For this reason, symbols are our preference where possible – when manufacturing a double-sided sign. Modern CNC Lazers do a great job, and we use ours to cut the Acrylic, as well as etching and lines. Gone are the days of flame polishing!
Painting- your Edge-lit signage
We also paint a high percentage of our Edge-lit signage. The best paint and the only one we recommend is an Acrylic Laquer. You can get almost any color pre-mixed at Inspirations Paint, for @ $32 per can. We paint both CNC routed and laser machined signs. We have manufactured painted signs with a number of different colors. If you want to know more about this, simply pick up the phone and call us.

If painting a sign you should back the paint up with white (@ $17 per can), as this will lift the color. We prefer Paper wrapped acrylic, as it stays stuck, while machining when compared with plastic wrap. But be warned- It also catches fire more easily when being laser cut!
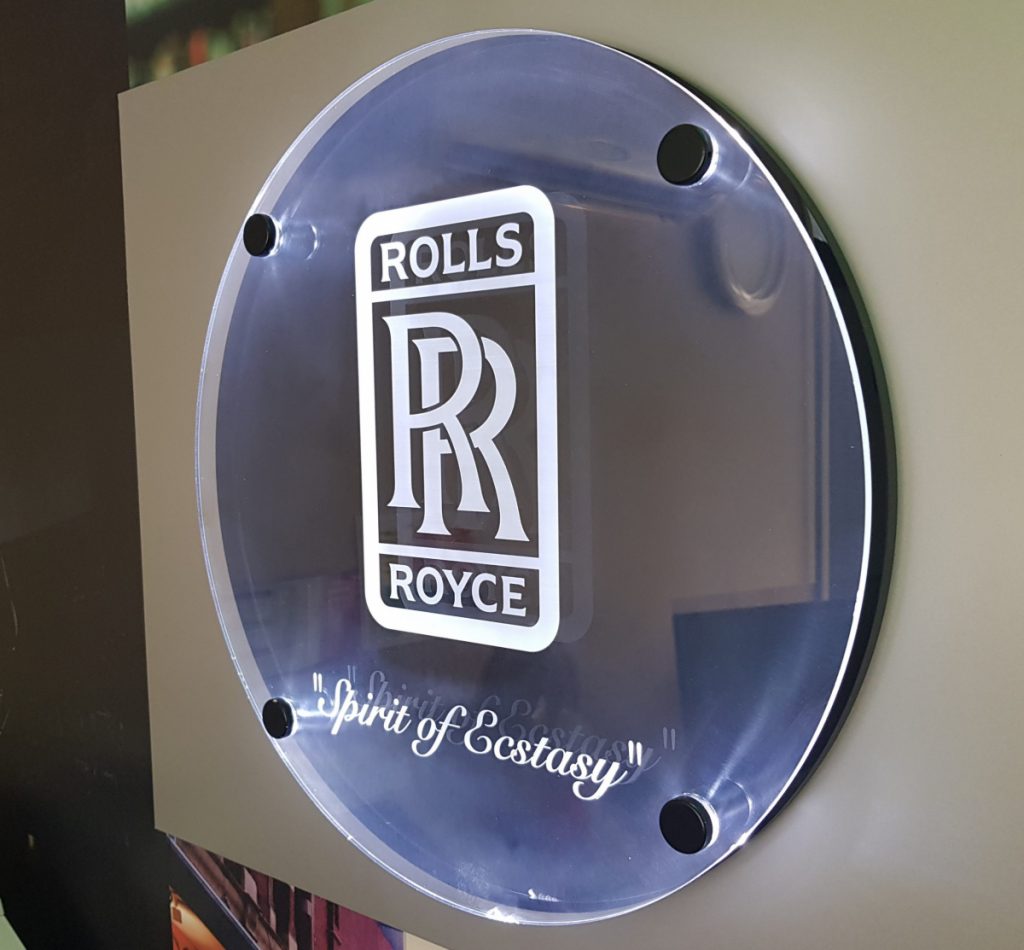
There are so many options when the paint is introduced that each sign can be an expression of your artistry. It is easy to replicate corporate colors and our White LEDs are all 6000k white, with high Color Render Index (CRI) to ensure that they stay true when lit.
Vinyl and Edge-lit signage
Vinyl can also be used in Edge-lit signage, although we tend to use it only when the artwork is busy. – coffee beans or the like. Why? Because, if you get it wrong, the adhesive will be visible, and amplified when turned on. Remember- when edge-lighting, anything on the surface of the acrylic is lit up. The glue is between the vinal and acrylic.
It is also possible to use translucent vinyl on the front of an edge-lit sign, but usually, in conjunction with a defuser and primarily for a double-sided sign.
Lighting Edge-lit signage
We stock 11 colors of LEDs, and also RGB (color changing) so, when you start mixing light colors with paint, some very interesting effects are achieved. Our new Mini RGB control unit easily fits inside our most popular – Mini- lighting unit so its now possible to use RGB in a commercial application with confidence.
If the sign is busy with lots of artwork, or dark colors, then it will use more light. We stock various LED strips, all manufactured to our specifications, and especially for edge lighting signs. We can help with the right selection. You can also improve the lighting by applying either white paint or white vinyl around the outside edge, as this reflects the light back into the sign. The light is bounced around inside, instead of dispersed, and will be about 30 percent brighter
Summary
We are here to help. We will give you a heads up, on things to be aware of, once we know what you are wanting to achieve in your Edge-lit signage. So call us- we are just a phone call away
For some examples of Edge-lit signs- click to our Gallery. To stay up to date with new products, click to follow us on FB
